Image calibration is necessary when quantitative analysis is essential, such as scientific research, photogrammetry, or medical imaging. Calibrate before performing measurements requiring geometric accuracy, correcting lens distortion in close-up photography, or merging images (e.g., panoramas). Temporal studies tracking changes over time also mandate calibration to ensure consistency.
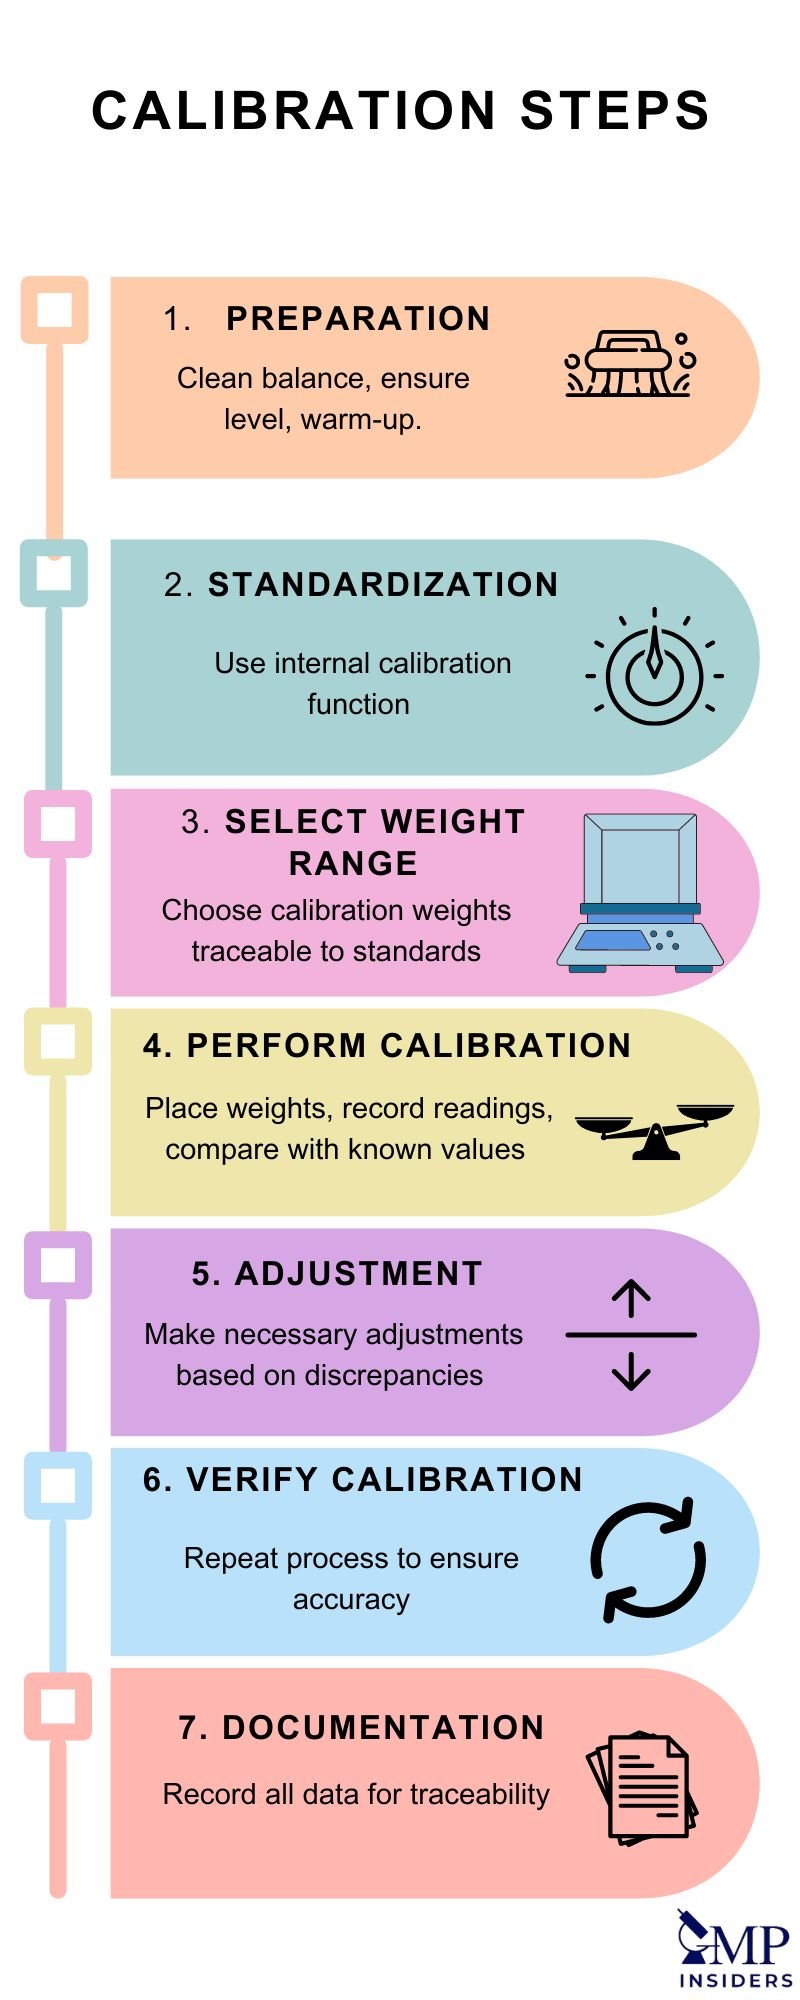
Essential Calibration Steps for Beginners
Step 1: Define Objectives
Determine calibration goals: spatial measurement accuracy, color fidelity, noise reduction, or distortion correction. This dictates required tools and methodology.
Step 2: Choose Calibration Targets
Select reference targets matching your needs:
- Checkerboard patterns: for lens distortion correction
- Resolution charts: for optical sharpness assessment
- Color calibration cards: for white balance and color accuracy
- Flat frames: for removing vignetting and sensor noise
Step 3: Capture Reference Images
Shoot under controlled conditions:
- Uniform lighting without shadows
- Stable camera mounting (tripod)
- Targets covering the entire field of view
- Multiple exposures/angles where applicable
Step 4: Apply Calibration Algorithms
Process using software tools:
- Geometric correction: Remove barrel/pincushion distortion via radial adjustment models
- Radiometric calibration: Subtract dark frames, divide by flat frames
- Color profiling: Match sample patches to reference values
Step 5: Validate Results
Verify calibration effectiveness:
- Measure known distances/angles in corrected images
- Check histogram uniformity after noise reduction
- Assess color deviation percentages using delta-E metrics
Maintenance Tip: Recalibrate when changing lenses, sensors, or lighting conditions. For critical work, recalibrate monthly or per project phase.