Connecting RGB components correctly ensures vibrant lighting without damaging hardware. Follow these steps:
Identify RGB Header Types
Common motherboard headers:
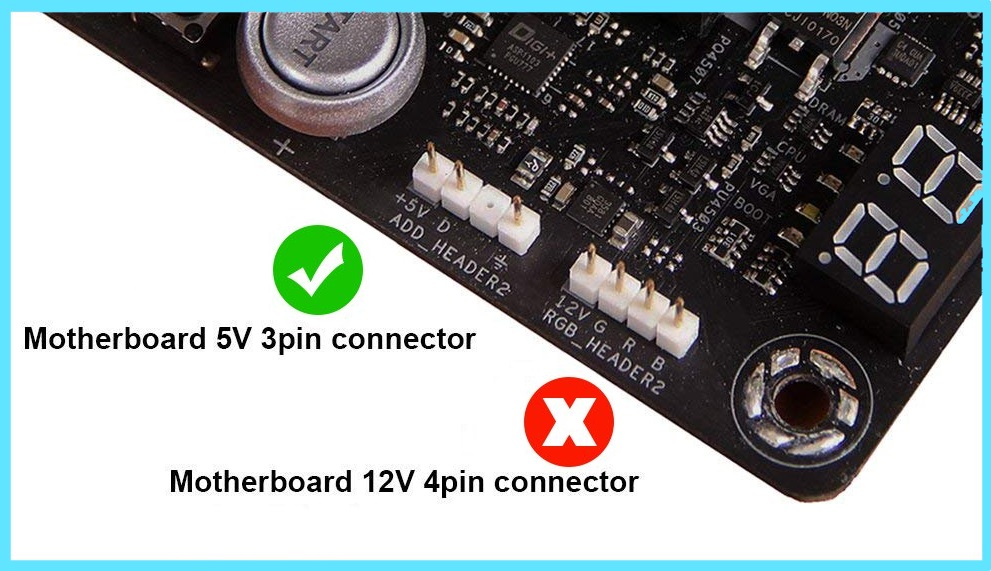
- 12V RGB Header (4-pin): Delivers 12V power, supports older RGB strips where all LEDs display the same color.
- 5V ARGB Header (3-pin): Delivers 5V power, supports addressable LEDs (each LED controllable individually).
Required Components & Safety
- RGB component (strip, fan, etc.)
- Motherboard manual
- Anti-static wrist strap (recommended)
Warning: Never connect a 5V ARGB device to a 12V RGB header (or vice-versa). Severe damage will occur.
Connection Procedure
Step 1: Power Down
Shut down the PC and disconnect the power cable. Press the case power button to discharge residual electricity.
Step 2: Locate Header
Consult motherboard manual to find the desired RGB/ARGB header location. Note label markings (e.g., "+12V G R B" for 4-pin RGB, "5V D G" for 3-pin ARGB).
Step 3: Align Pin Configuration
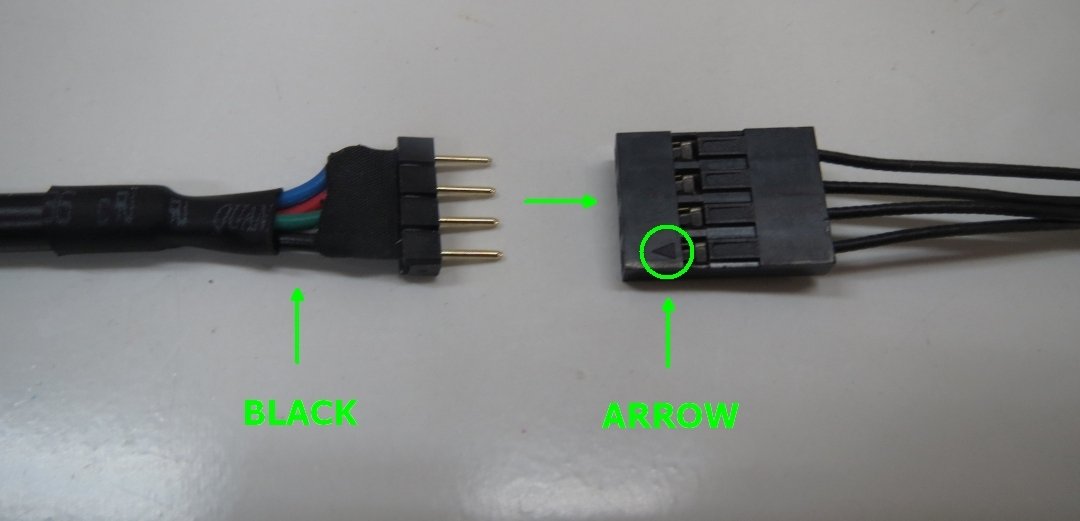
Inspect the connector on your RGB device cable:
- 4-pin (12V RGB): Match cable’s arrow or "+12V" marking to header’s +12V pin.
- 3-pin (5V ARGB): Match cable’s arrow (usually pointing to "D" or data pin) to header’s "D" pin. Some use a blocked pin aligning with a missing pin slot on the header.
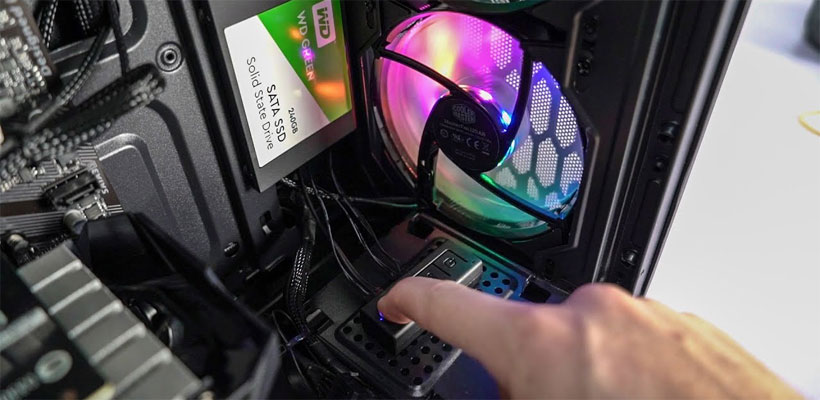
Step 4: Connect Securely
Gently but firmly push the connector straight onto the header pins. Ensure full seating and no pin bending.
Step 5: Test and Manage
Reconnect power. Power on PC. Control lighting via motherboard manufacturer’s software (e.g., Armory Crate, RGB Fusion, iCUE). Test patterns.
Troubleshooting
- No Light: Verify correct header voltage, pin alignment, software configuration, and component power.
- Partial Light/Errors: Check for damaged cables/pins, loose connection, and ensure software is updated.
- Software Not Detecting: Reinstall motherboard RGB software and check SMBus/I2C controller settings in BIOS.
Key Tips:
- Use splitters/hubs for multiple devices to avoid overloading the header (check max amp rating).
- Route cables away from fans or sharp edges.
- Refer to component manuals for specific power requirements.