This guide provides concise steps for installing Ubuntu Desktop, the most widely used Linux distribution.
Preparation
1. Verify System Compatibility: Ensure your PC meets minimum requirements (2 GHz dual-core processor, 4 GB RAM, 25 GB disk space, USB port, Internet access). UEFI/BIOS settings may need adjustment (temporarily disable Secure Boot if necessary, ensure USB boot is enabled).
2. Download Ubuntu ISO: Obtain the latest LTS (Long Term Support) release from the official Ubuntu website.
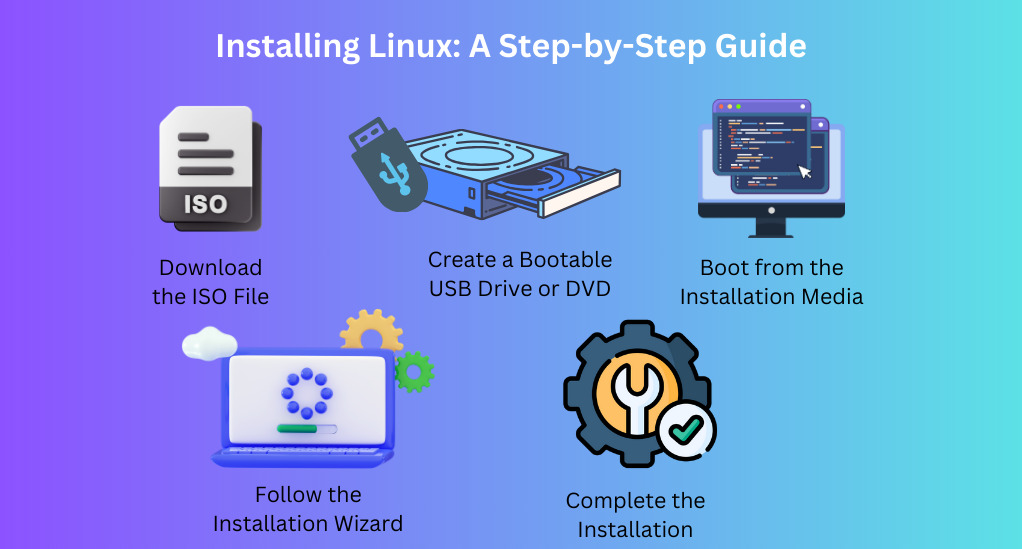
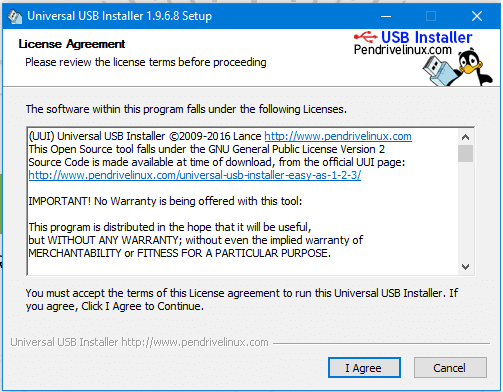
3. Create Bootable USB: Use tools like BalenaEtcher or Rufus to write the downloaded ISO file to a USB drive (minimum 8GB). This will erase the USB drive.
4. Backup Data: Back up all critical personal data from your computer's storage drive to an external location.
Boot and Installation
5. Boot from USB: Insert the bootable USB drive. Restart your PC and enter the boot menu (key varies - often F12, F10, F2, ESC, or DEL). Select the USB drive to boot from.
6. Start Ubuntu Installer: At the GRUB menu, select Try or Install Ubuntu. Once the live environment loads, double-click Install Ubuntu.
7. Language & Keyboard: Choose your preferred language and keyboard layout. Click Continue.

8. Updates & Software:
- Select Normal installation.
- Check Download updates while installing Ubuntu (requires internet).
- Optionally check Install third-party software for graphics, Wi-Fi, and media support. Click Continue.
Disk Partitioning
9. Installation Type (CRITICAL):
- For Erase Disk & Install Ubuntu (simplest): Select this if using the entire drive. It will delete all data on the selected disk.
- For Manual Partitioning (advanced): Select "Something else". Create partitions (e.g., EFI System Partition ~500MB FAT32 if UEFI, Swap ~equal to RAM size, root `/` ext4 with remaining space, optionally separate `/home` partition).
- Select the target disk. Click Install Now. Confirm writing changes.
10. Storage Configuration (Advanced only): If Manual partitioning, set mount points and filesystems (ext4 recommended for root `/` and `/home`) carefully. Set the EFI partition mount point to `/boot/efi` if required. Click Install Now and confirm.
System Configuration
11. Time Zone: Select your region or click on the map. Click Continue.
12. User Account:

- Enter your full name.
- Choose a computer name (automatically generated).
- Pick a username.
- Set a strong password.
- Choose login method (Log in automatically or Require password).
Click Continue.
Finalization
13. Complete Installation: The installation process will run. It will prompt to remove the installation media when finished. Click Restart Now.
14. First Boot: Remove the USB drive when instructed. Boot into your new Ubuntu system. Log in with the username and password you created.
15. Apply Updates: After login, open Software Updater to apply any remaining updates. Reboot if prompted.
Verification
16. Confirm Operation: Verify internet connectivity, sound, display resolution, and basic application functionality.