Understanding 10.0.22
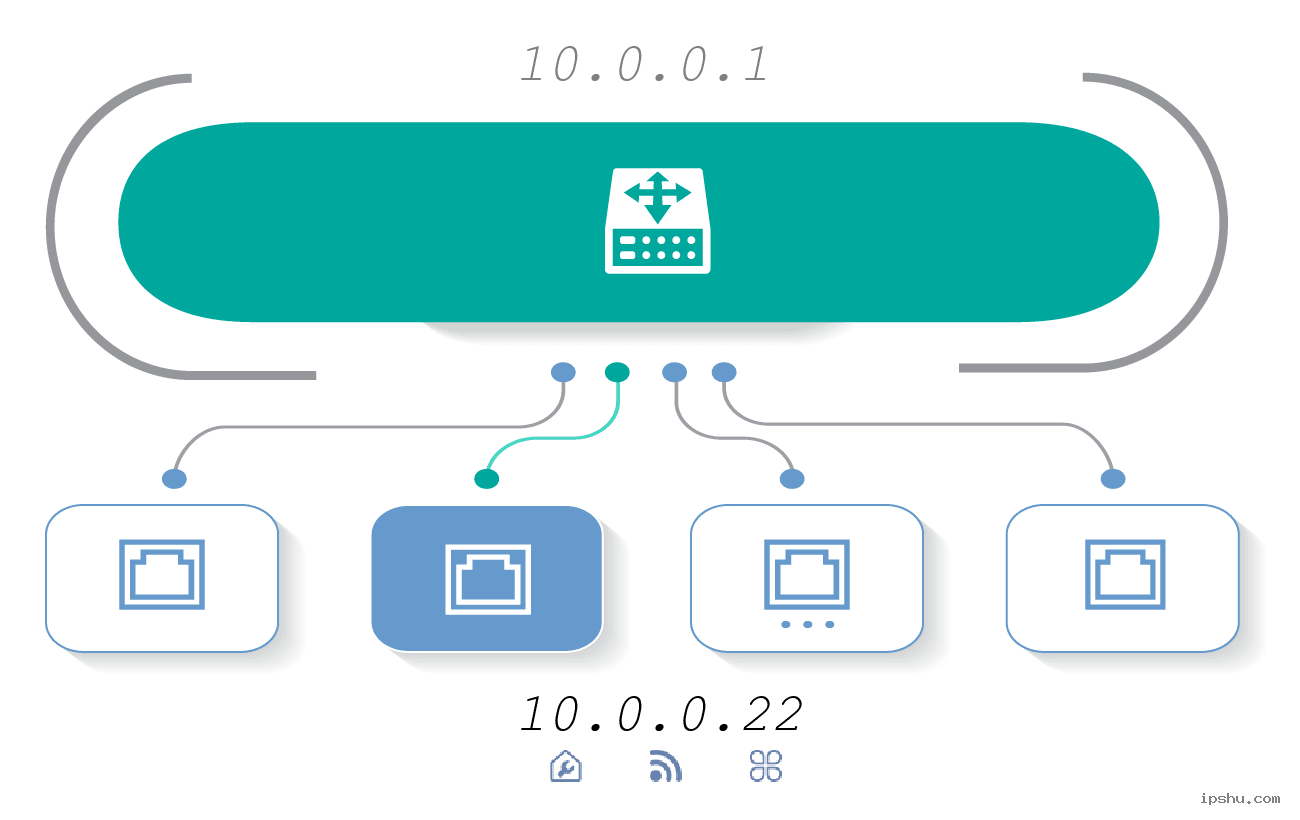
10.0.22 likely refers to a private IP address like 10.0.0.22, commonly used in local networks. Setting it up involves assigning this static IP to a device for consistent connectivity, ideal for servers or IoT devices.
Prerequisites
Ensure you have:
- Admin access to your router's settings
- The MAC address of the target device
- Basic knowledge of your network subnet
Step-by-Step Setup Guide
Follow these steps carefully:

Step 1: Access Router Admin Panel
- Open a web browser and enter your router's IP address (usually 192.168.1.1 or 10.0.0.1)
- Log in with admin credentials found on your router
Step 2: Navigate to DHCP Settings
- Find the DHCP or LAN settings section in the router interface
- Select Address Reservation or Static IP Assignment option
Step 3: Assign Static IP
- Enter 10.0.22 as the IP address (ensure it fits your subnet, e.g., 10.0.0.x)
- Input the device's MAC address
- Save changes and reboot your router if prompted
Step 4: Configure Device Network Settings
- On the target device, go to Network Settings or TCP/IP configuration
- Select Use Static IP and enter: IP=10.0.22, Subnet Mask=255.255.255.0, Gateway=router's IP
- Apply and restart the device
Step 5: Verify Connectivity
- Ping 10.0.22 from another device to confirm responsiveness
- Check the router's DHCP table for the assigned IP
Common Tips
Avoid conflicts by ensuring 10.0.22 is outside your DHCP range. Always backup router settings before changes. For beginners, start with one device to test.