Prerequisites for Mapping a Network Drive
Ensure the network is accessible and the shared folder has proper permissions. Verify both devices are on the same network or domain.
Step-by-Step Guide to Map the Drive
Follow these steps directly in Windows 11:
- Step 1: Open File Explorer by pressing Win + E.
- Step 2: Select This PC from the left navigation pane.
- Step 3: Navigate to the top menu and choose Computer, then click Map network drive.
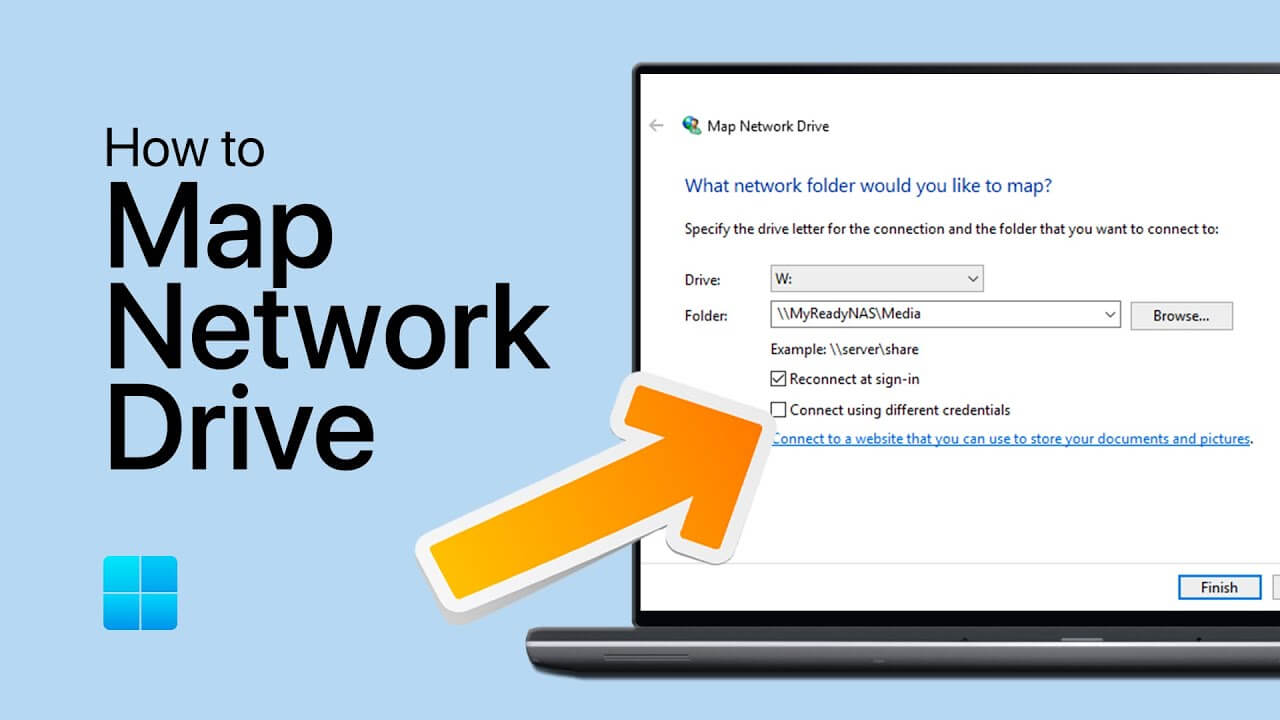
- Step 4: Pick an available drive letter from the dropdown.
- Step 5: Enter the network path in the Folder field, e.g., computernamesharedfolder.
- Step 6: Tick Reconnect at sign-in for automatic access on startup.
- Step 7: (Optional) Check Connect using different credentials to input alternate user details if required.
- Step 8: Click Finish to complete the mapping.
Verifying and Accessing the Mapped Drive
The drive appears under This PC. Access files directly like a local drive for seamless sharing. To troubleshoot, recheck network connectivity or folder permissions.