Installing a hatch bridge deck involves securing a watertight cover on a deck surface to ensure safety and functionality. Follow this concise 5-step guide designed for beginners. Always use recommended tools and prioritize safety.
Step 1: Gather Materials and Tools
Collect essential items before starting:
- Hatch cover assembly kit
- Fasteners like stainless steel screws or bolts
- Waterproof sealant (e.g., marine-grade)
- Measuring tape and level
- Safety gear: gloves, goggles
Confirm sizes per manufacturer guidelines.
Step 2: Prepare the Deck
Clean the installation area thoroughly to remove debris, oil, or old sealant. Use a level to verify an even surface; adjust with shims if needed for perfect alignment.
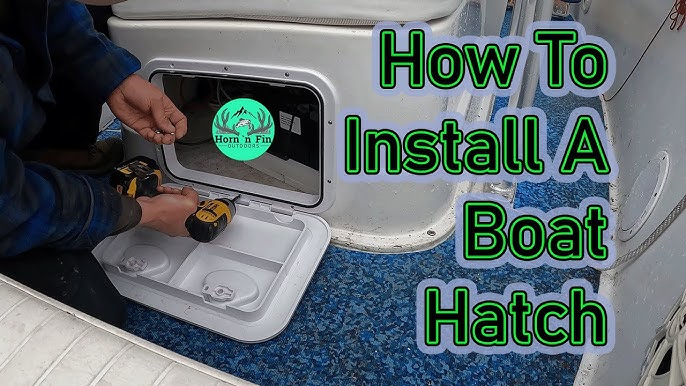
Step 3: Position the Hatch Cover
Place the hatch on the deck. Align it accurately with the measuring tape to ensure symmetry and smooth operation once installed.
Step 4: Secure and Seal the Hatch
Apply a continuous bead of waterproof sealant around the hatch frame. Attach the hatch using fasteners, tightening evenly to avoid warping or leaks—do not overtighten.
Step 5: Test and Inspect
Inspect sealant gaps and fasteners for uniformity. Test the hatch by opening and closing it multiple times to check for smooth movement and water resistance. Maintain safety protocols throughout.