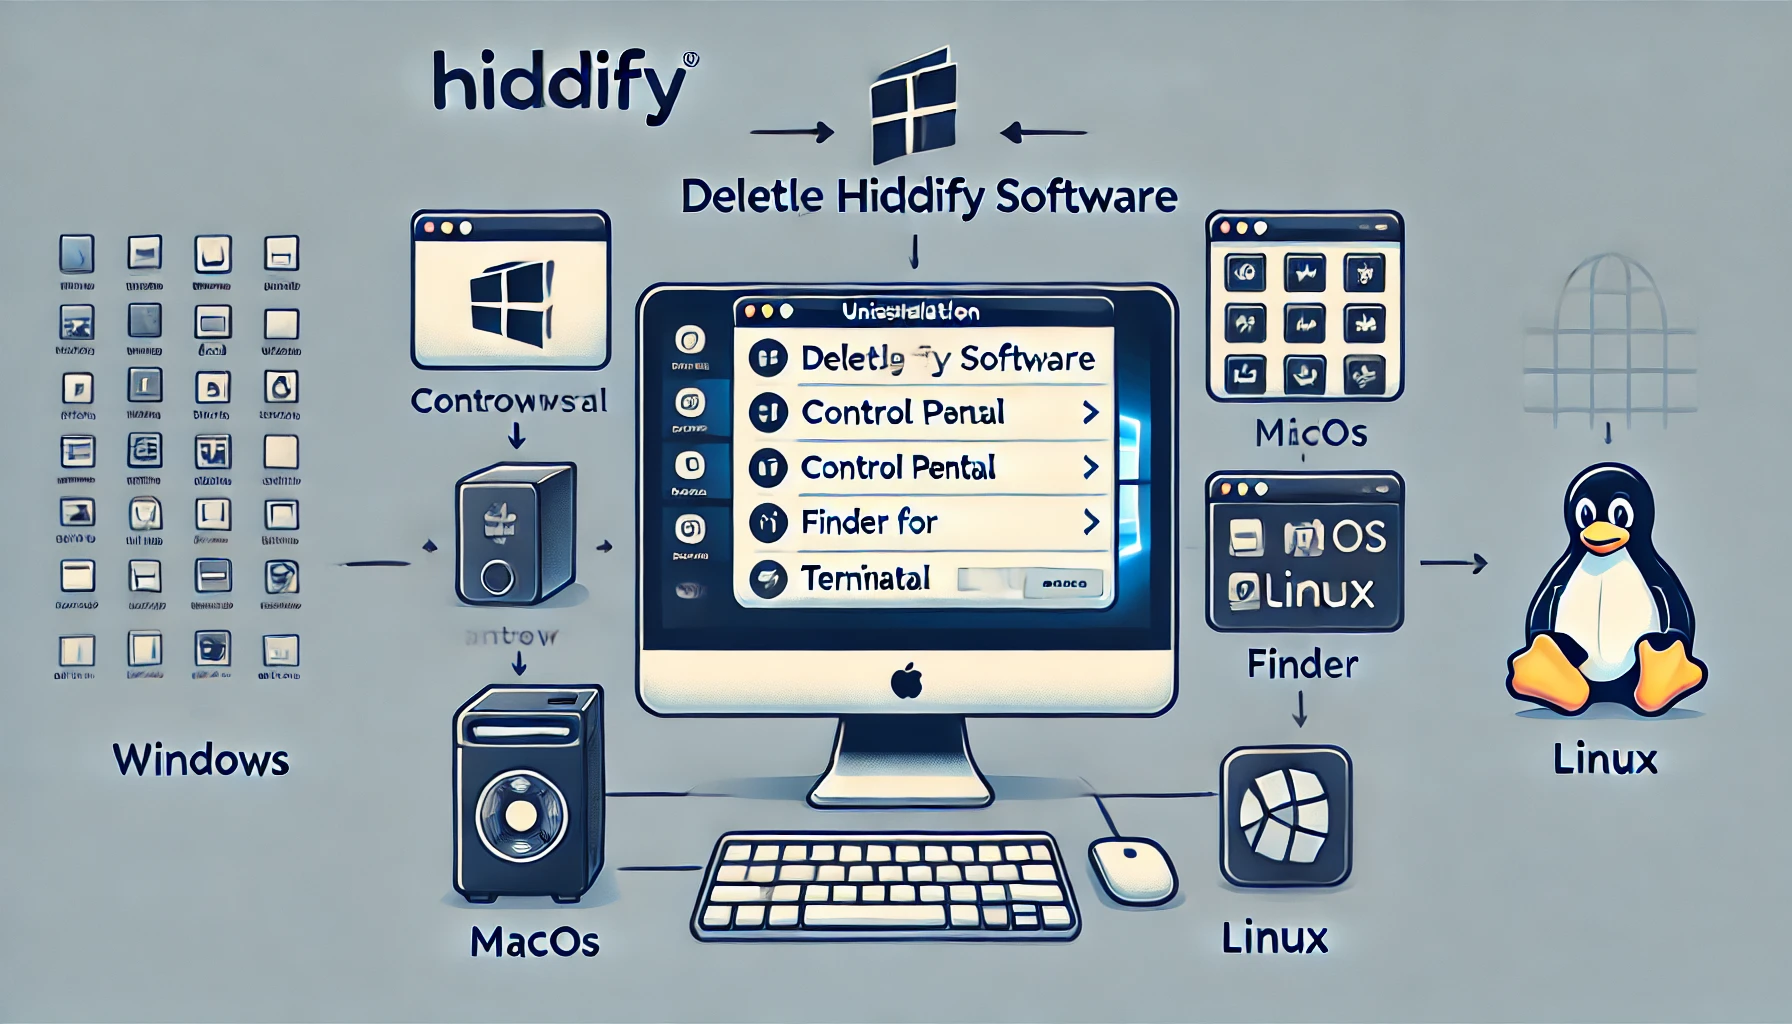
Deleting Hiddify requires meticulous removal beyond standard uninstallation due to its potential complexity and persistence. Follow these expert steps to eradicate it completely from your system.
Understanding Hiddify
Hiddify often refers to potentially unwanted software that can include functionalities like proxy redirection, ad injection, or privacy risks. Achieving permanent removal demands thorough manual checks combined with security tools.
Step-by-Step Manual Removal (Windows)
- Uninstall via Settings: Navigate to Settings > Apps > Apps & features. Search for "Hiddify", select it, and choose Uninstall. Reboot immediately.
- Delete Related Folders: Manually check and delete these directories:

%AppData%%LocalAppData%%ProgramData%%ProgramFiles%
Look for folders named "Hiddify", "HiddifyNG", or similar suspicious names. - Clean Registry Entries: Press Win+R, type
regedit, and search keys underHKEY_CURRENT_USERSoftware,HKEY_LOCAL_MACHINESOFTWARE, andHKEY_LOCAL_MACHINESOFTWAREWow6432Node. Delete all entries related to Hiddify. Caution: Incorrect edits can destabilize your system. Backup first. - Scan Startup Items: Open Task Manager (Ctrl+Shift+Esc), go to the Startup tab. Disable any suspicious entries linked to Hiddify.

Step-by-Step Manual Removal (macOS)
- Uninstall Application: Drag "*" from the Applications folder to Trash. Empty Trash.
- Remove Associated Files: Use Finder to delete leftover files/folders. Common locations include:
~/Library/Application Support/~/Library/Preferences/~/Library/LaunchAgents//Library/LaunchDaemons/
Search for filenames containing "Hiddify". - Check Browser Extensions: Open Safari/Chrome/Firefox settings. Remove any extensions added by Hiddify.
Essential Post-Removal Actions
- Run Anti-Malware Scans: Immediately perform deep system scans using reputable antivirus and anti-malware software (e.g., Malwarebytes, Norton, Bitdefender). Update definitions first.
- Reset Browser Settings: Clear cache, cookies, and browsing history. Reset browser settings to defaults to remove hidden proxies or homepage changes.
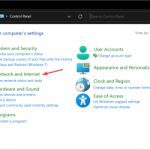
- Check Network Settings: Verify your DNS settings (in Network Preferences/Settings) haven't been altered. Use known-good DNS like 8.8.8.8 or 1.1.1.1 temporarily to test.
- Monitor System Activity: Use Task Manager (Windows) or Activity Monitor (macOS) for several days. Look for unfamiliar processes consuming resources.
Critical Expert Tip: Due to the stealthy nature of such tools, manual removal alone might miss components. Combining rigorous manual steps with full scans by multiple updated security tools is the most reliable method for permanent deletion. If traces persist or system instability occurs, consider restoring from a clean backup or performing a full OS reinstall for absolute certainty.