Modifying the default RDP port (3389) in Windows 11 enhances security by reducing automated attack vectors. Follow these steps:
Access Registry Editor
Press Windows + R, type regedit, then press Enter. Navigate to this key:
HKEY_LOCAL_MACHINESYSTEMCurrentControlSetControlTerminal ServerWinStationsRDP-Tcp

Modify Port Number
- Right-click PortNumber in the right pane and select Modify.
- Select Decimal under Base options.
- Replace the existing value (3389) with your custom port (e.g., 54321).
- Click OK.
Configure Windows Firewall
- Open Windows Security > Firewall & network protection.
- Select Advanced settings > Inbound Rules.
- Right-click Inbound Rules > New Rule.
- Choose Port > TCP, enter your new port number.
- Select Allow the connection > apply to all profiles.
- Name the rule (e.g., "Custom RDP Port") and save.
Apply Changes
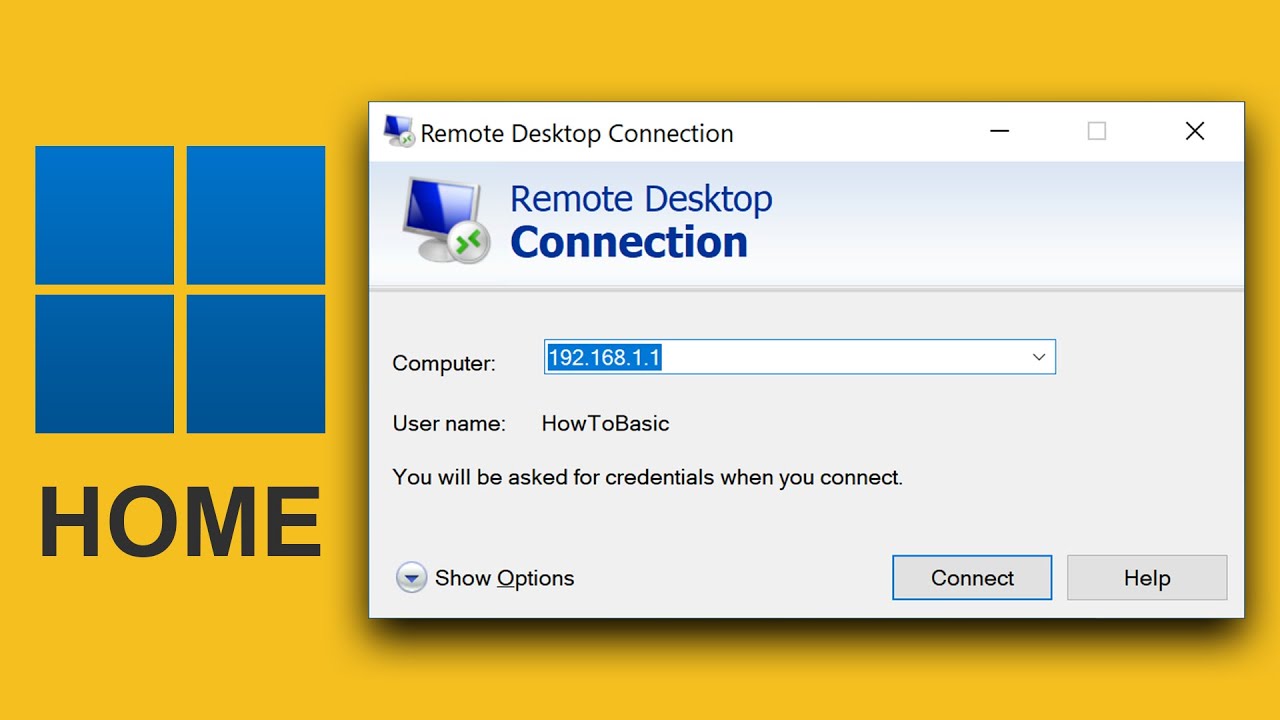
Restart your computer. After reboot, connect to RDP using [IP Address]:[New Port] (e.g., 192.168.1.5:54321).
Important Notes
- Avoid ports below 1024 or commonly used (e.g., 80, 443).
- Update router port forwarding rules if accessing remotely.
- Document your custom port for future reference.
- Firewall modifications might require adjustments for domain/public/private networks.


