Temporary files in Windows 11 store transient data used by the system and applications. Accessing them quickly requires knowing their locations and efficient methods.
Key Temporary File Locations
- User Temp Folder: Stores current user's temporary data. Path:
%USERPROFILE%AppDataLocalTemp(Typical path: C:Users[Username]AppDataLocalTemp) - System Temp Folder: Stores system-wide temporary data. Path:
C:WindowsTemp(Requires admin permissions to view files). - Browser Cache: Browsers store temporary files in their profile folders (e.g., under
AppDataLocal).
Fast Access Methods
Method 1: Using the Run Dialog (Fastest)
- Press Win + R.
- Type
%temp%and press Enter to open your user-specific Temp folder. - Type
C:WindowsTempand press Enter to access the system Temp folder (confirm UAC prompt if needed).
Method 2: Via File Explorer Address Bar
- Open File Explorer.
- Click directly in the address bar at the top.
- Type either
%temp%(User Temp) orC:WindowsTemp(System Temp). - Press Enter.
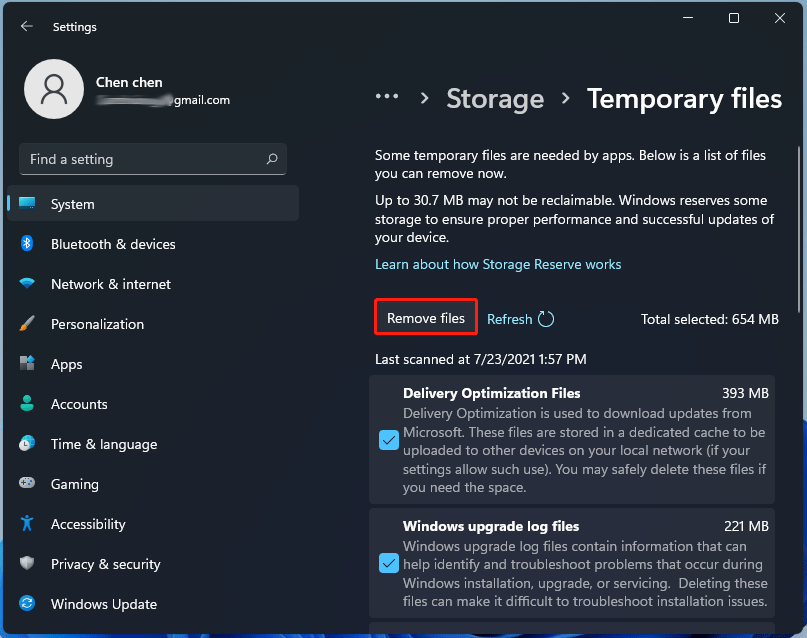
Method 3: Using Disk Cleanup
- Search for "Disk Cleanup" via the Start menu and run the app.
- Select the drive (usually C:) and click OK.
- In the list, check "Temporary files".
- Click OK, then Delete Files to remove them (access via viewing details first). Primarily for deletion rather than browsing.
Important Notes:
- Deleting files from these folders can cause application or system issues if done incorrectly. Only delete files you are certain are disposable.
- Many files may be actively in use or hidden. You might not be able to view/delete them immediately.
- Use Shift + Delete to bypass the Recycle Bin for permanent deletion when necessary.