Digitising cassettes professionally demands precision equipment and optimized techniques to preserve audio quality. Follow these essential steps to ensure efficient, high-fidelity conversions.
Essential Equipment Checklist
- A high-quality cassette deck with clean playback heads.
- Stereo RCA cables for reliable connections.
- A USB audio interface for direct computer input.
- Professional software like Audacity or Adobe Audition.
Step-by-Step Conversion Process
Prepare tapes first: Clean the cassette and demagnetize deck heads using a dedicated tool. This minimizes distortion during playback.
Set up connections: Link the deck to the audio interface via RCA cables, then connect to your computer. Ensure input levels in software are calibrated to avoid clipping.
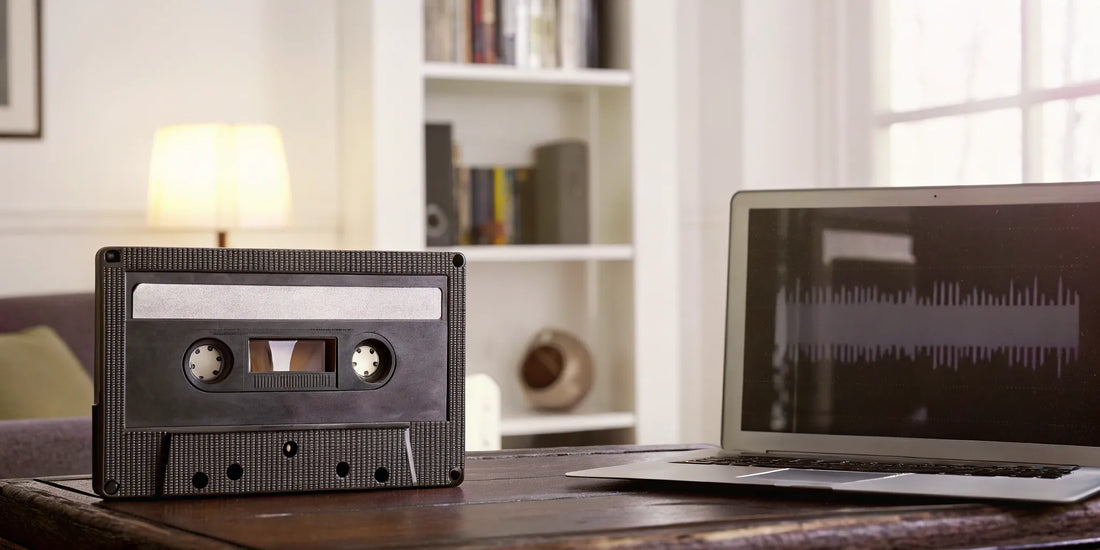
Record with optimal settings: In software, use a 44.1 kHz sample rate and 16-bit depth. Monitor audio in real-time to catch anomalies early.
Top Professional Conversion Tips
- Always record in a quiet environment to reduce background noise interference.
- Apply mild noise reduction post-recording; over-processing can degrade audio quality.
- Normalize the waveform after capture to maximize volume without distortion.
- Export files in lossless formats like WAV or FLAC for long-term archiving.
- Perform test recordings with short sections before full transfers.
By adhering to these guidelines, you can digitise cassettes like a pro, delivering crisp, authentic results efficiently. Focus on consistency in settings and methodical troubleshooting to save time.


