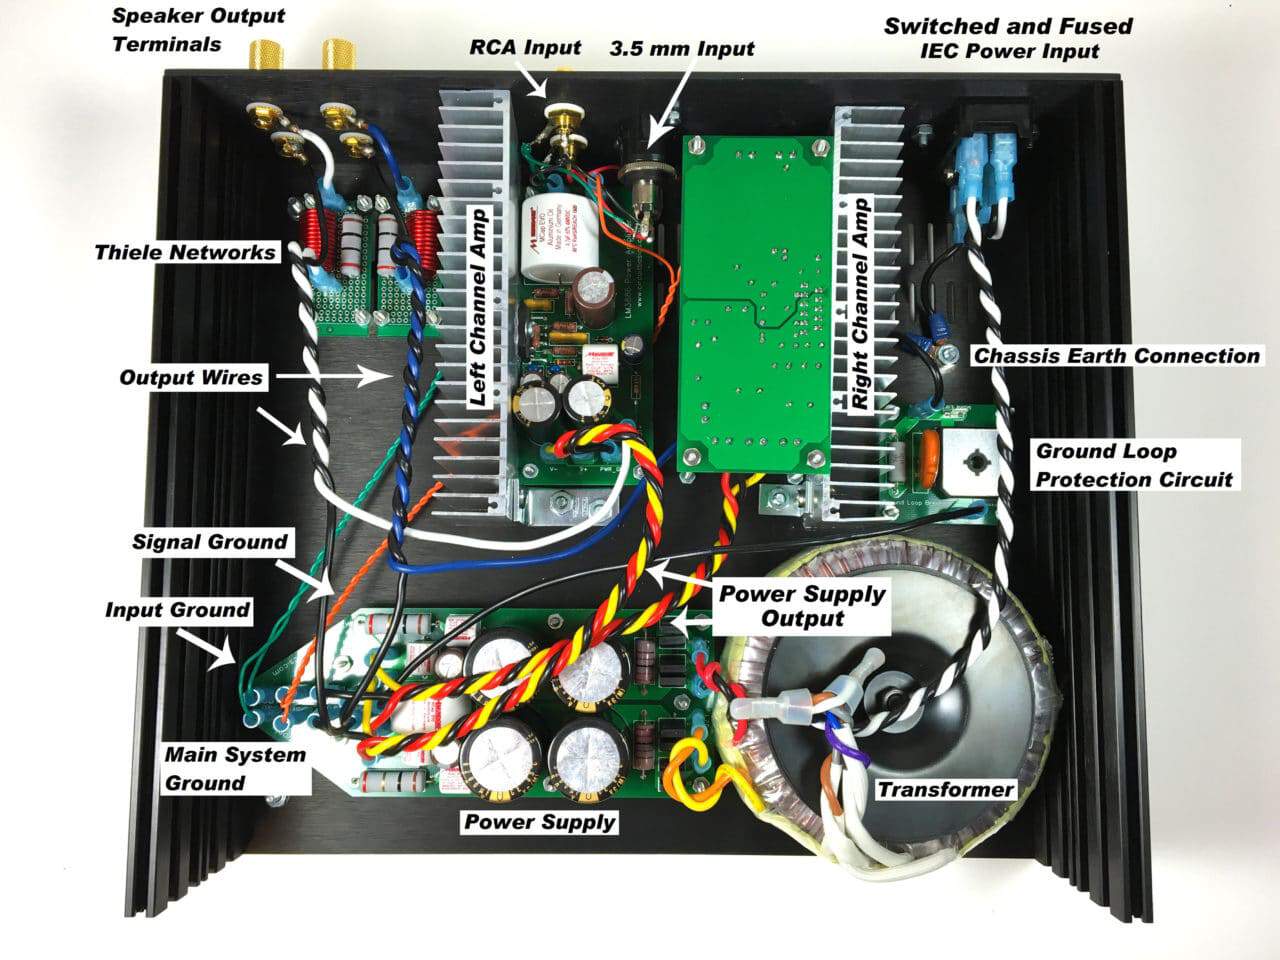
Set up your D amp efficiently with this focused three-step approach. Ensure precise audio signal transfer while protecting equipment integrity.
Essential Preparation
Gather the following before starting: Your D amplifier, matching speaker(s), speaker wire (14-16 gauge recommended), wire stripper/cutter, and a digital multimeter. Disconnect all power sources to the amplifier and head unit. Confirm your speaker impedance (4Ω or 8Ω) matches the amp's rated stable load.
Precise Wiring & Connection
Connect the RCA cables from your head unit's preamp outputs to the amplifier's inputs. Route power cable directly from the vehicle battery positive terminal through the firewall to the amp's +12V connection, installing an appropriate inline fuse within 18 inches of the battery. Attach the ground cable to a clean, unpainted metal chassis point near the amplifier. Connect the remote turn-on lead to the head unit's remote output.

Secure Speaker Integration
Strip 1/2 inch of insulation from speaker wire ends. Observe polarity strictly:
- Amplifier (+) → Speaker Terminal (+)
- Amplifier (-) → Speaker Terminal (-)
Tighten all connections securely. Use crimp connectors or solder for terminal ends if necessary. Double-check all connections against your wiring diagram before applying power.
Critical Testing & Calibration
Set amplifier gain controls to minimum. Reconnect the negative battery terminal. Verify amplifier power light illumination. Test system functionality with low-volume audio playback. Gradually increase gain while playing a 1kHz test tone until reaching clean output, ensuring clipping indicator remains inactive. Confirm phase accuracy using a polarity tester. Set crossovers according to speaker specifications (HPF for tweeters, LPF for subwoofers).


