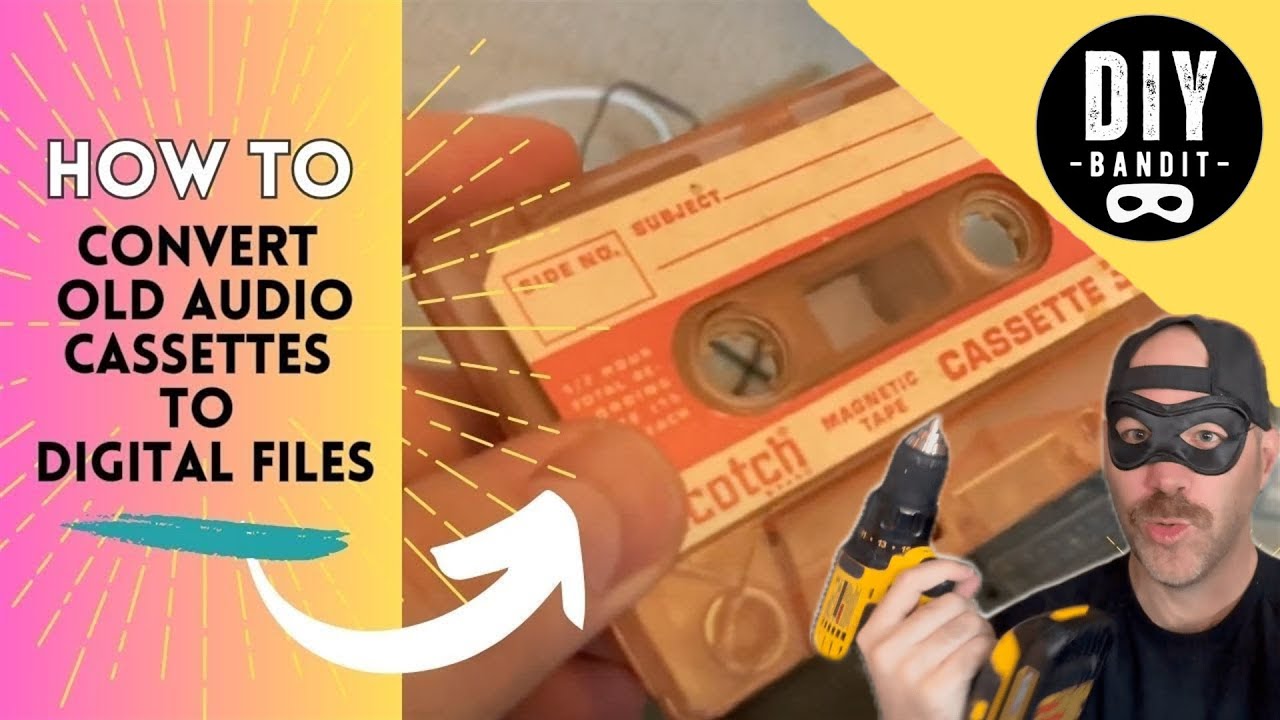
Converting cassette tapes to digital formats preserves audio content and prevents deterioration. Follow this professional workflow:
Essential Equipment
- Cassette player with functioning playback (clean heads with isopropyl alcohol)
- 3.5mm stereo to RCA cable OR USB cassette converter
- Computer with audio interface/line-in port
- Digital Audio Workstation (DAW) software (e.g., Audacity)
- Monitoring headphones or speakers
Connection Methods
Method 1: Analog to Computer Line-In
- Connect RCA outputs from cassette player to computer's line-in/mic port via 3.5mm adapter cable
- Set computer's input source to "Line-In" in system sound settings
Method 2: Dedicated USB Converter
- Connect cassette player's headphone/line-out to USB converter input
- Plug USB converter directly into computer (recognized as audio interface)
Software Configuration
- Open DAW software, select correct input source
- Set recording format to 44.1kHz, 16-bit WAV (CD quality)
- Perform test recording: Check input levels peak around -3dB without distortion
- Disable software monitoring to prevent feedback
Recording Process
- Rewind tape fully before starting
- Begin recording in DAW before pressing play
- Record entire side continuously
- Observe waveform for clipping or dropouts
- Pause between sides (do not stop DAW recording)
Post-Processing
- Split recording into individual tracks using silence detection
- Minimal processing recommended: Apply gentle noise reduction only if essential
- Export final tracks as WAV for archiving, MP3 (320kbps) for general use
- Metadata: Embed artist, album, and track titles
Critical Considerations
- Handle tapes by outer edges only
- Use players with metal tape capability for Type II/IV cassettes
- DC bias adjustment: Avoid if player lacks calibration controls
- Check azimuth alignment if high frequencies sound muffled
Preservation Tip: Store originals in cool, dry conditions post-digitization. Maintain multiple backups of digital files.

