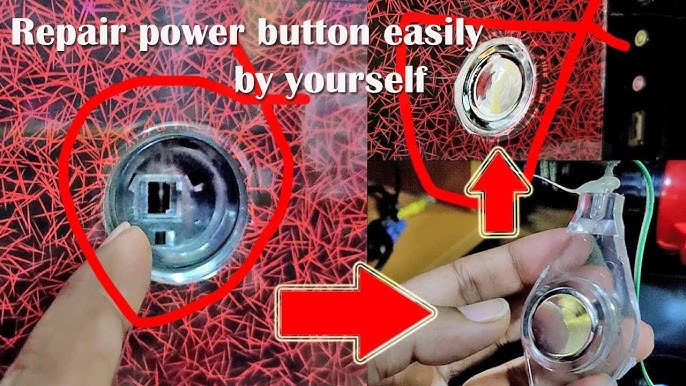
Adding a second power button to your PC offers convenient access but introduces potential pitfalls. Below are common errors and their resolutions.
Mistake 1: Wrong Front-Panel Header Pin Assignment
Connecting the second switch to incorrect pins on the motherboard's F_PANEL header is frequent. This often prevents startup or causes erratic behavior.
Fix:

- Consult your motherboard manual for the exact location of the PWRBTN+ and PWRBTN- (or PWR_SW) pins.
- Use a multimeter's continuity mode to identify the motherboard pins if the manual is unavailable.
- Ensure the switch connects solely to these two specific pins. Ignore the RESET, LED, or other pins.
Mistake 2: Using an Improper Switch Type
Utilizing a latching switch (on/off) instead of the required momentary switch (spring-loaded, only makes contact when pressed). A latching switch will instantly cut power unsafely or prevent startup.
Fix:
- Confirm your replacement switch is a momentary, normally open (NO) type matching the original button. Test continuity: it should only occur while physically pressed.
Mistake 3: Loose or Intermittent Connections
Poor crimping on connectors, shaky wire-to-switch contact, or incompatible/unsecured header connectors lead to inconsistent operation.
Fix:
- Use quality, properly crimped Dupont connectors (often 2-pin female housings) compatible with the F_PANEL header pins.
- Ensure wires are securely attached to the switch terminals via soldering or tight screw terminals.
- Verify connectors fully seat onto the pins without gaps.
Mistake 4: LED Polarity Confusion
Accidentally connecting a power LED indicator (if added) backwards to the power switch pins. LEDs have polarity (+/-), the switch does not.
Fix:
- Power Switch Pins: Do not connect an LED directly here. Polarity doesn't matter for the switch itself.
- Power LED Pins: If adding an LED, find the separate PLED+ and PLED- pins on the F_PANEL header. Connect the LED anode (+) and cathode (-) accordingly.
Mistake 5: Accidental Short Circuits
Exposed wires contacting the metal case or each other near the switch install location. This risks damaging the motherboard or PSU.
Fix:
- Meticulously insulate all exposed wire ends with heat shrink tubing or electrical tape. Avoid exposed conductors.
- Securely route wires away from sharp metal edges or other components.
Key Takeaways for Success
- Unplug the PSU before starting work.
- Use ONLY momentary (NO) switches for power functions.
- Reference your motherboard manual constantly for pinouts.
- Double-check wire connections (switch terminals and motherboard header).
- Insulate all connections meticulously.