Display overclocking pushes your monitor beyond factory refresh rates, delivering smoother motion in fast-paced applications. Execute carefully to avoid hardware damage.
Step 1: Verify Hardware Limitations
Confirm your GPU supports custom resolutions (Nvidia Control Panel or AMD Adrenalin) and check your display's native specifications. Note that HDMI may impose stricter limitations than DisplayPort.
Step 2: Establish Baseline Stability
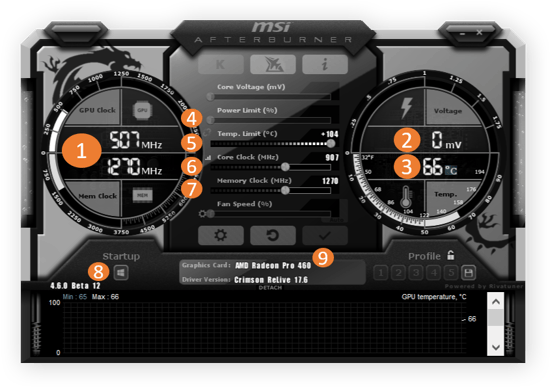
Run GPU stress tests using tools like FurMark for 30 minutes. Monitor temperatures to ensure existing stability before overclocking. Record idle/load temps for reference.

Step 3: Incremental Refresh Rate Adjustments
- Navigate to GPU driver's custom resolution settings
- Increase refresh rate in 5Hz increments
- Maintain native resolution during adjustments
Apply changes and confirm system stability after each increment.
Step 4: Artifact Detection & Validation
Use TestUFO's Ghosting Test to identify frame-skipping. Visually inspect for artifacts during motion-heavy content. Failure manifests as screen tearing, flickering, or temporary blackouts.
Step 5: Sustained Stability Testing
Maintain the new refresh rate for 24+ hours of regular use. Monitor for subtle instabilities like intermittent flickering. If stable, configure the setting as default; if unstable, reduce by 3-5Hz and retest.
Critical Warning: Overvolting displays is strongly discouraged. This process exclusively adjusts signal timing, not voltage. Any visual abnormalities require immediate reversion to prevent potential panel damage.


